Barney Magrath • Apr 19, 2019
Adapting an iPhone for Astrophotography
Global smartphone sales topped 1.5 billion last year. Many of those phones came equipped with impressive cameras, yet as far as I know, a smartphone image has never shown up on NASA’s Astronomy Picture of the Day website.
That doesn’t mean you can’t use your phone for astrophotography! The sky is the limit, providing you’re willing to invest a little time for what is a surprisingly low-budget, hands-on project.
I bought my first smartphone in 2015, which makes me a very slow adopter. The iPhone 6+ had been introduced the previous year and it had all the bells and whistles a photographer could want, including a 5.5-inch screen and an 8-megapixel color image sensor to print 8” x 10” photos at 300 dpi.
The first photo I took was of the full Moon through a pair of binoculars. I guessed that the iPhone camera lens would approximate my eye and, if placed correctly behind the eyepiece, would refocus the magnified image onto the focal plane of the camera. This idea is called afocal imaging or eyepiece projection. The alignment and interface hardware needed a little work but I had the background from my career as an optics technician at the Canada France Hawaii Telescope and Subaru telescopes at Mauna Kea, to work out a robust optical interface design.
Unlike Steve Jobs, who reportedly invested $150 million to develop the iPhone, I had, well, considerably less. But that’s okay, because I made a device that virtually anyone can make in a garage or workshop. Here are three different ways to photograph the night sky using an iPhone and some software and hardware hacks. And don’t forget to enable airplane mode so an incoming message doesn’t vibrate your phone!
First configuration: iPhone on a stationary tripod
In essence all you need to take a picture like this is manual control of the focus, a 15-second time exposure, and a RAW file output. Can the native iPhone camera do any of these? No! I downloaded an app called ProCam to do this. It currently costs $5.99.
ProCam gives you manual control over your phone’s settings. It will let you shoot in TIF files, which is important because the bit depth is much greater, giving you more editing headroom. (Also, TIF files are an order of magnitude larger than JPGs.)
I use a standard camera tripod and attach the phone using a cheap adapter that you can buy for about $10. Positioning the touch screen at head height, pointing horizontally, simplifies the learning curve. I shot a star field that includes Orion and Canis Major, since they rise above the eastern horizon in January. Imaging objects directly overhead is considerably more difficult.
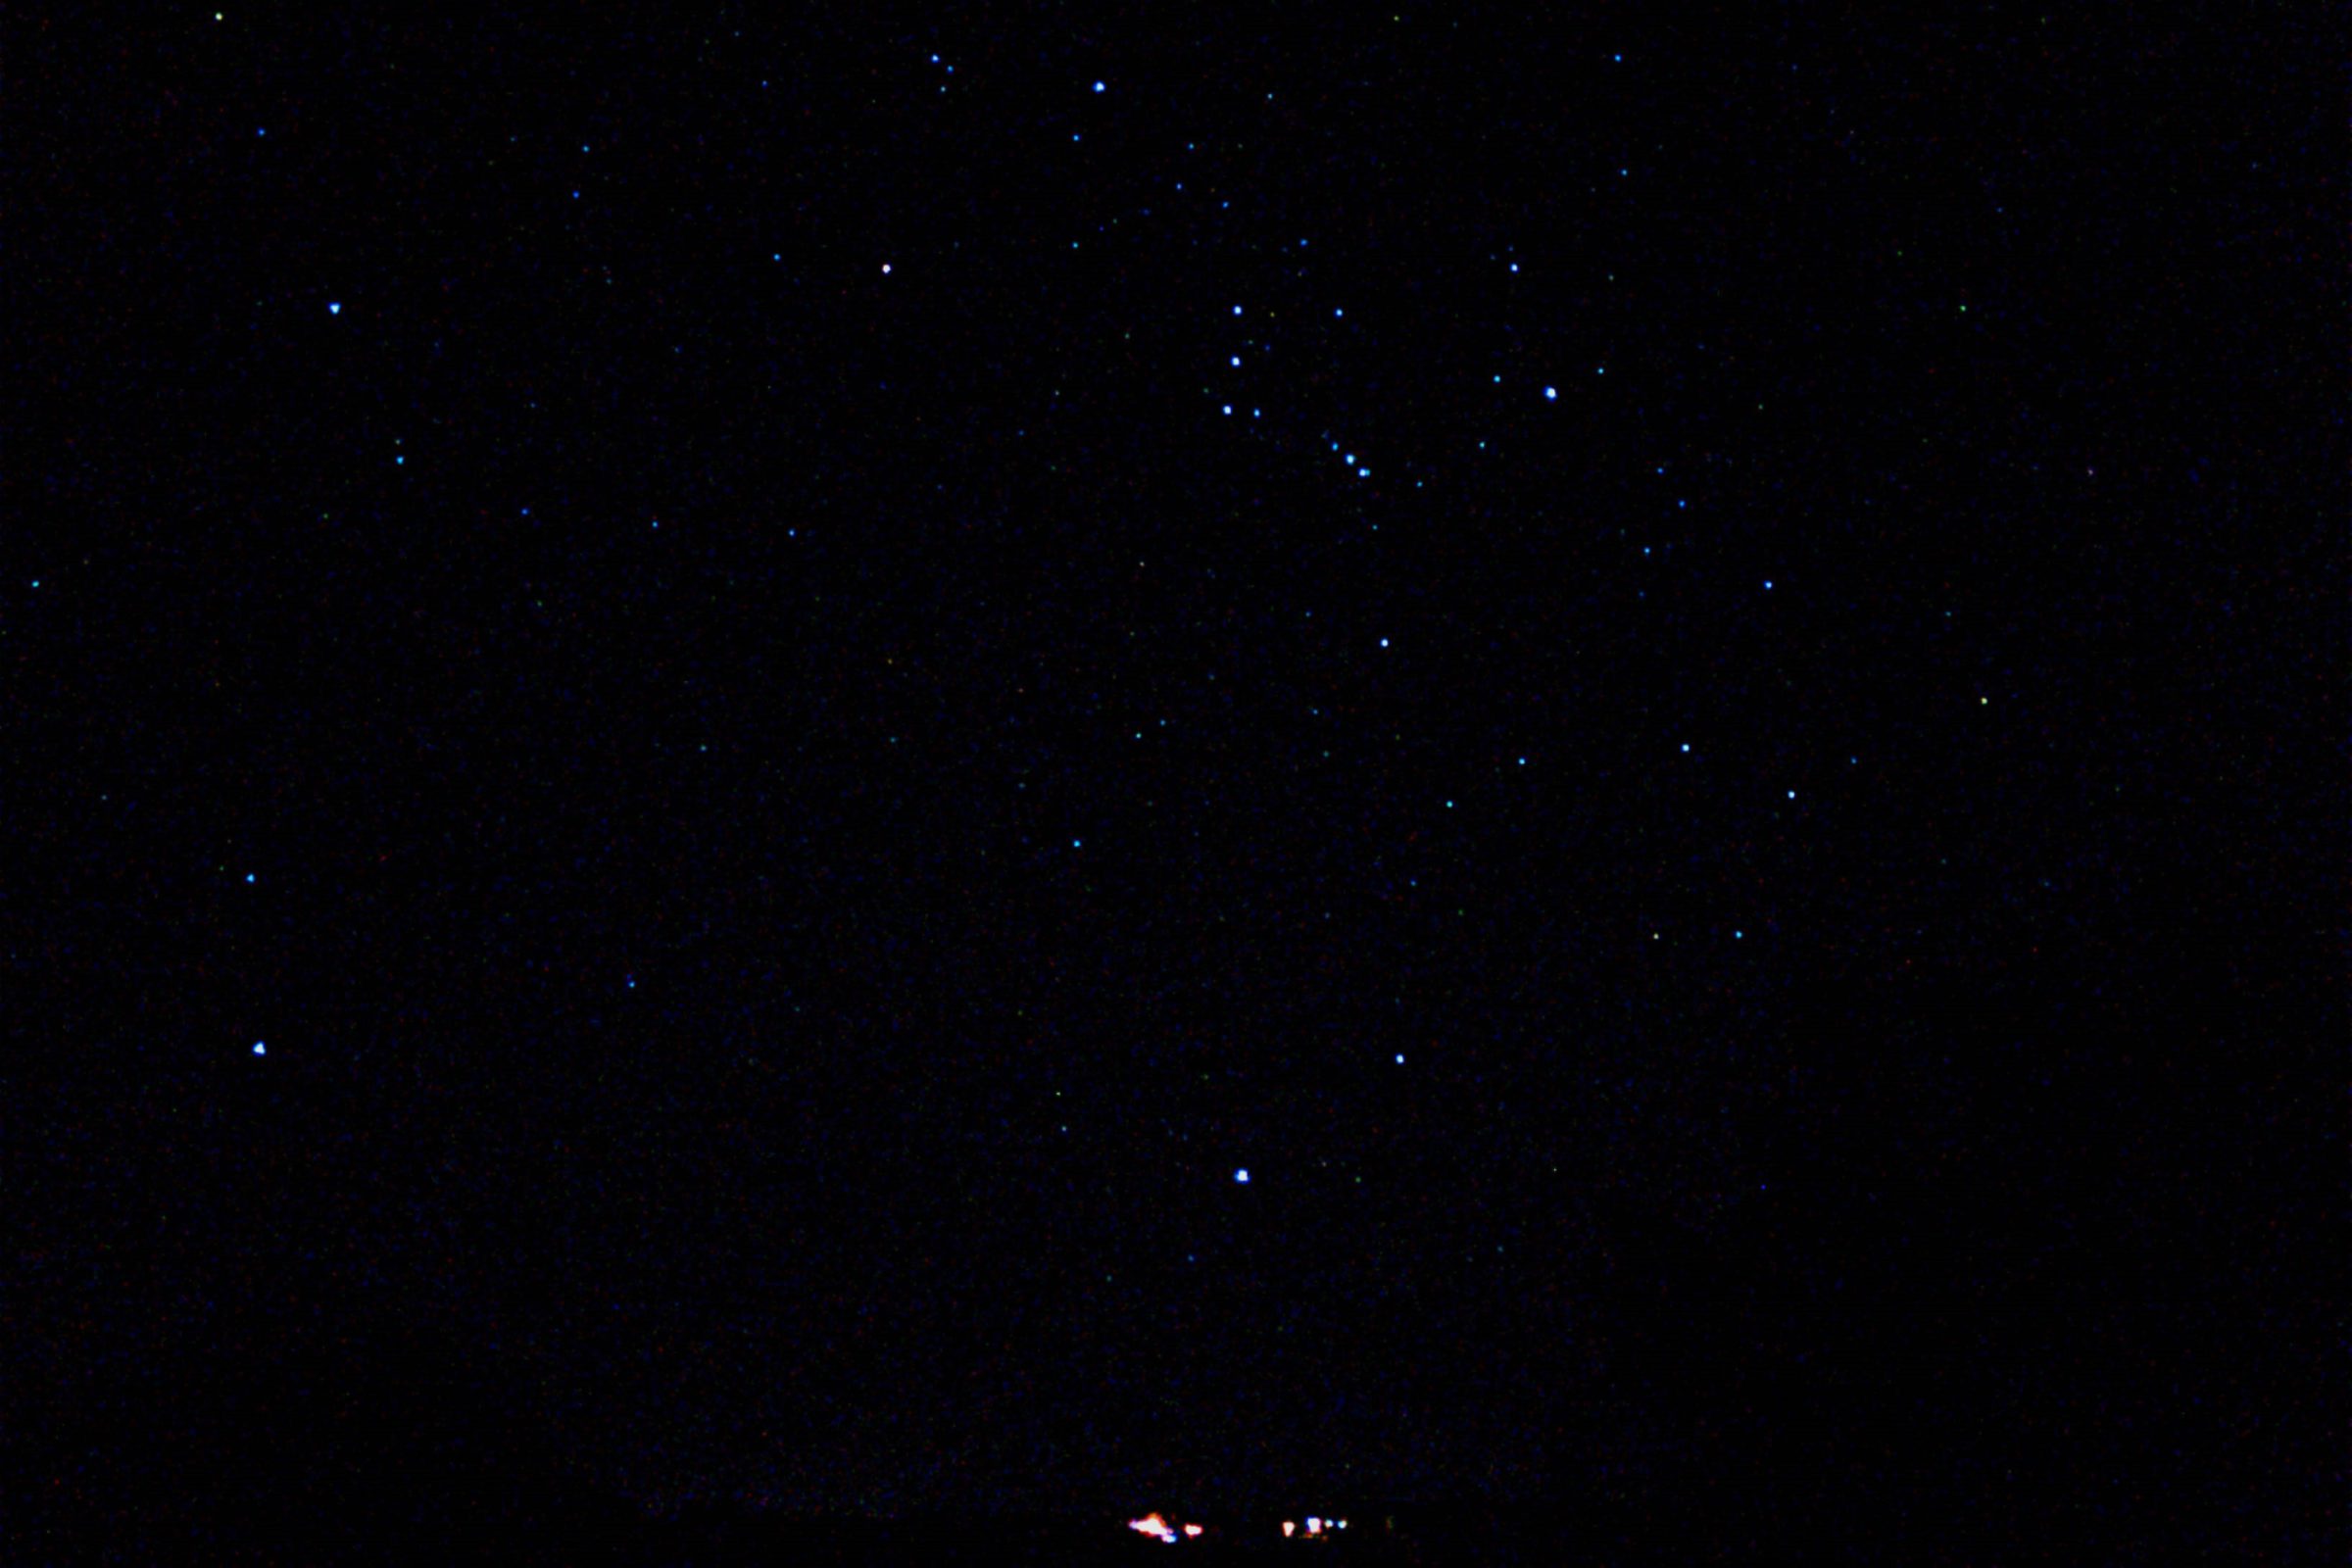
Technical Details: Camera control app ProCam, no auxiliary optics, 15-second exposure in TIF, no zoom, processed Photoshop CS2, aspect ratio 3:2 (7.1 megapixels), no image stabilization, plate scale 61 arcseconds per pixel. Location: Santa FE, NMImage: Barney Magrath
Second configuration: iPhone behind a pair of binoculars
The key element in this setup is the optical bench, a piece of ¾-inch plywood. As you can see in the following picture, the binoculars are mounted so that the optical axis is parallel to the optical bench. The iPhone is then put into position as you would position your eye. As you look at your camera screen, you move the iPhone into the sweet spot’ behind the eyepiece. There is no mechanical connection between the camera and the binoculars.
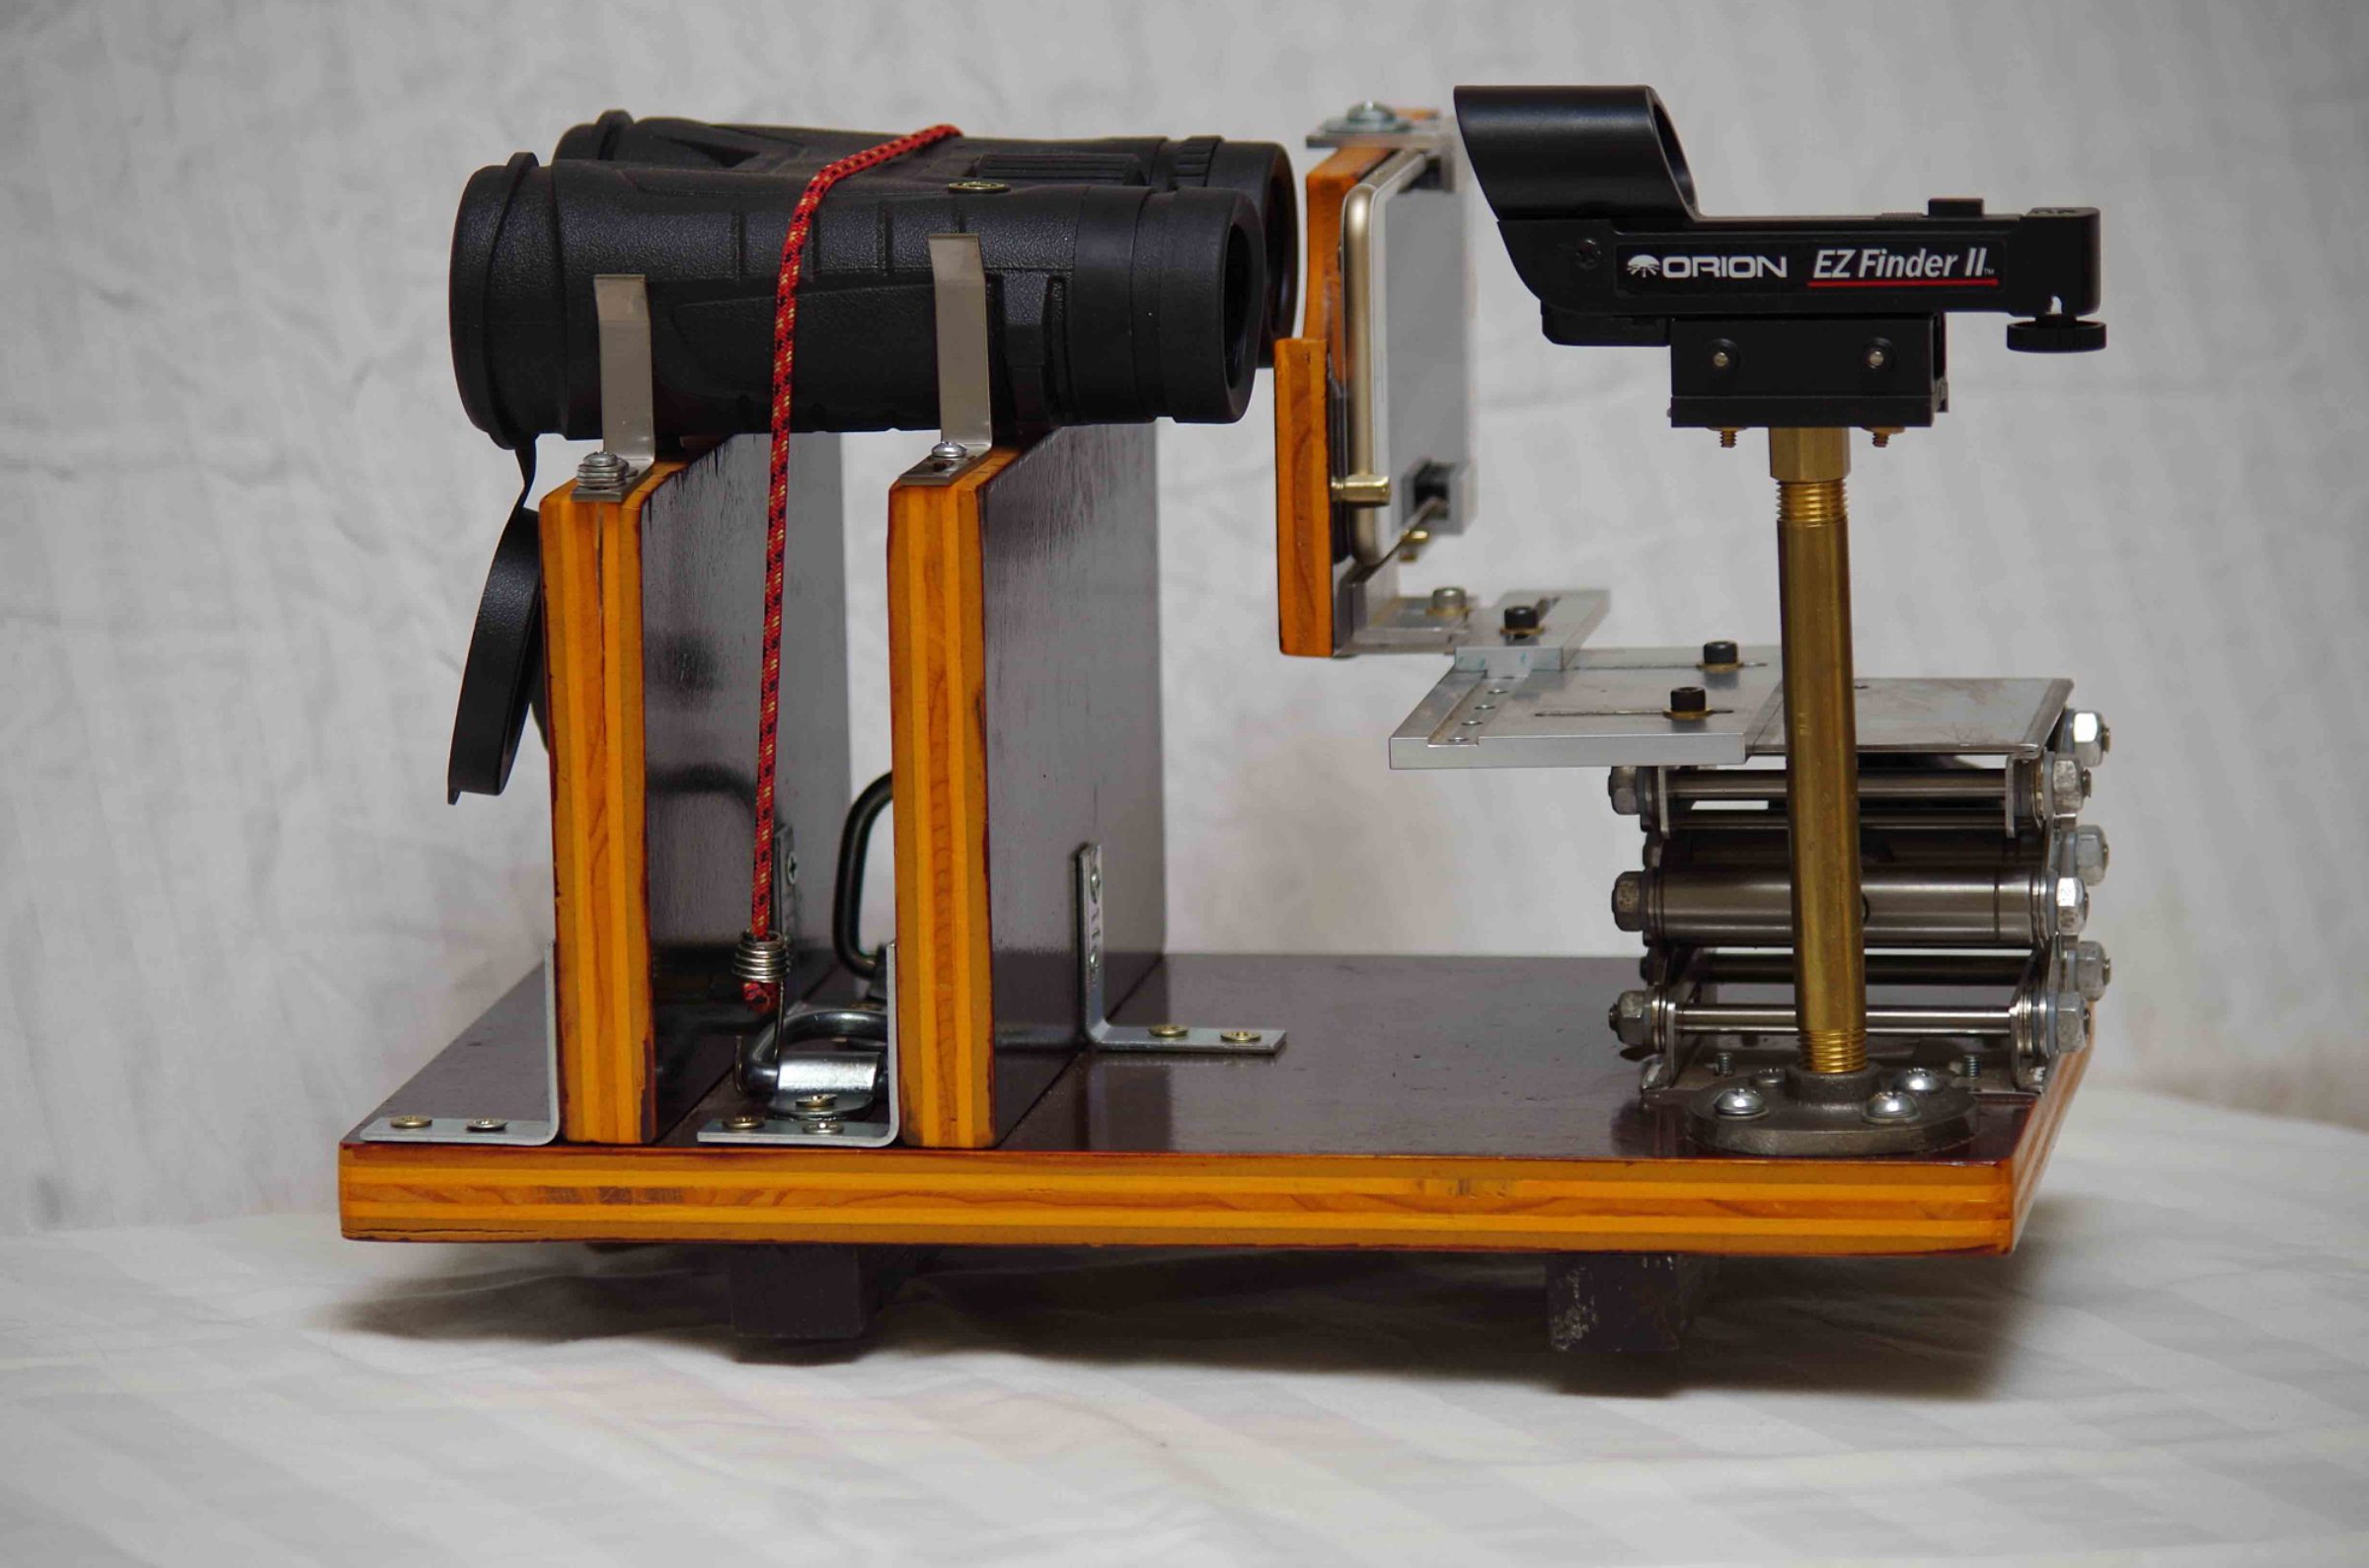

The bench is an “x-y-z table” that lets you move the iPhone in 3 directions:
x motion (left and right): The x-plate is a custom-machined aluminum plate with a long slotted hole. Loosen the black cap screw, slide the plate, and lock it down.
y motion (up and down): Edmund Scientific sells a low-priced lab jack, around $180. I modify it slightly by tapping some M4 holes in the top plate. The jack provides an up and down motion with a large rubber-coated knurled knob.
z motion (back and forth): The z motion is along the optical axis. It positions the camera to fill up an unvignetted field of view. This custom-made aluminum plate also uses long slotted holes, and black cap screws, to lock it down.
The key to the x motion and z motion working smoothly together is a couple of channels that are precisely milled in the aluminum plates.
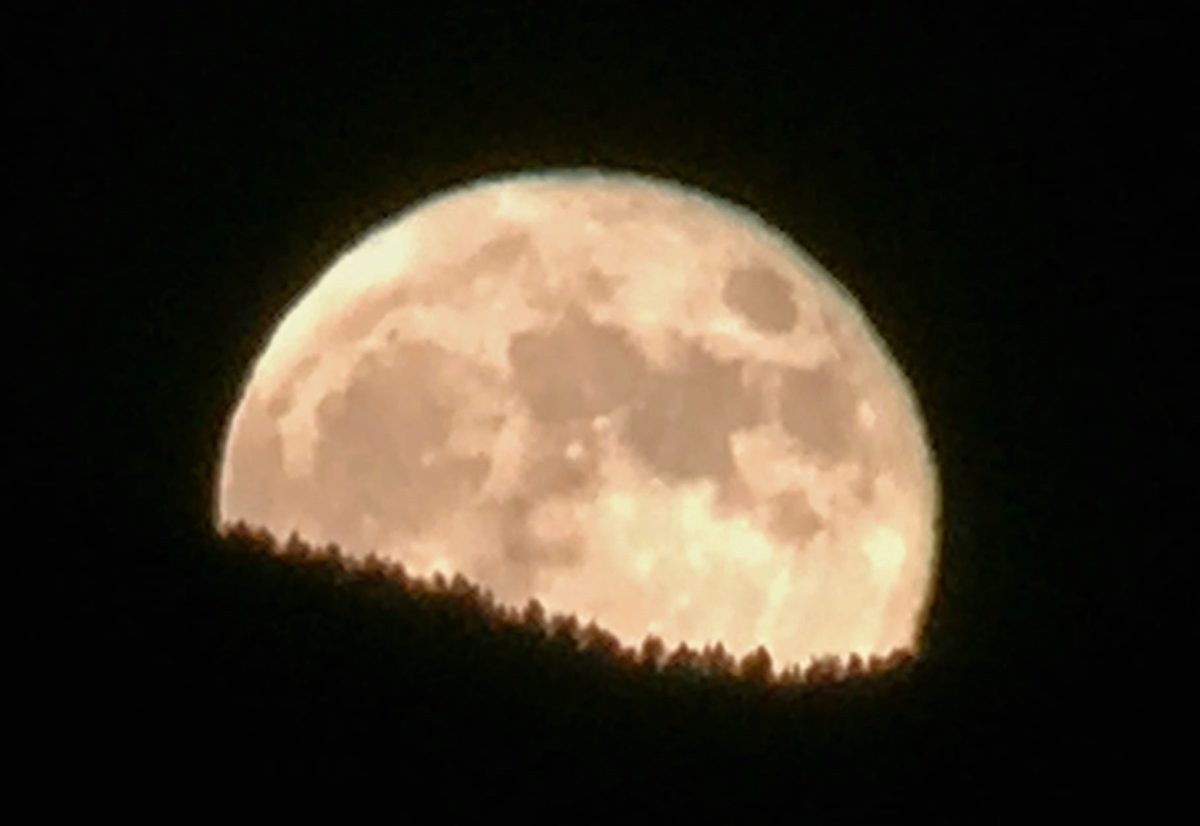
Don't forget the other camera modes on the iPhone, especially the time-lapse mode, because moonrises and sunsets make spectacular subjects.
Third configuration: iPhone behind a telescope
For this configuration, I placed the iPhone behind the eyepiece of a 70mm Celestron refractor picked up at the local thrift store for peanuts. Notice that the camera mount is an exact copy of the mount used with binoculars.
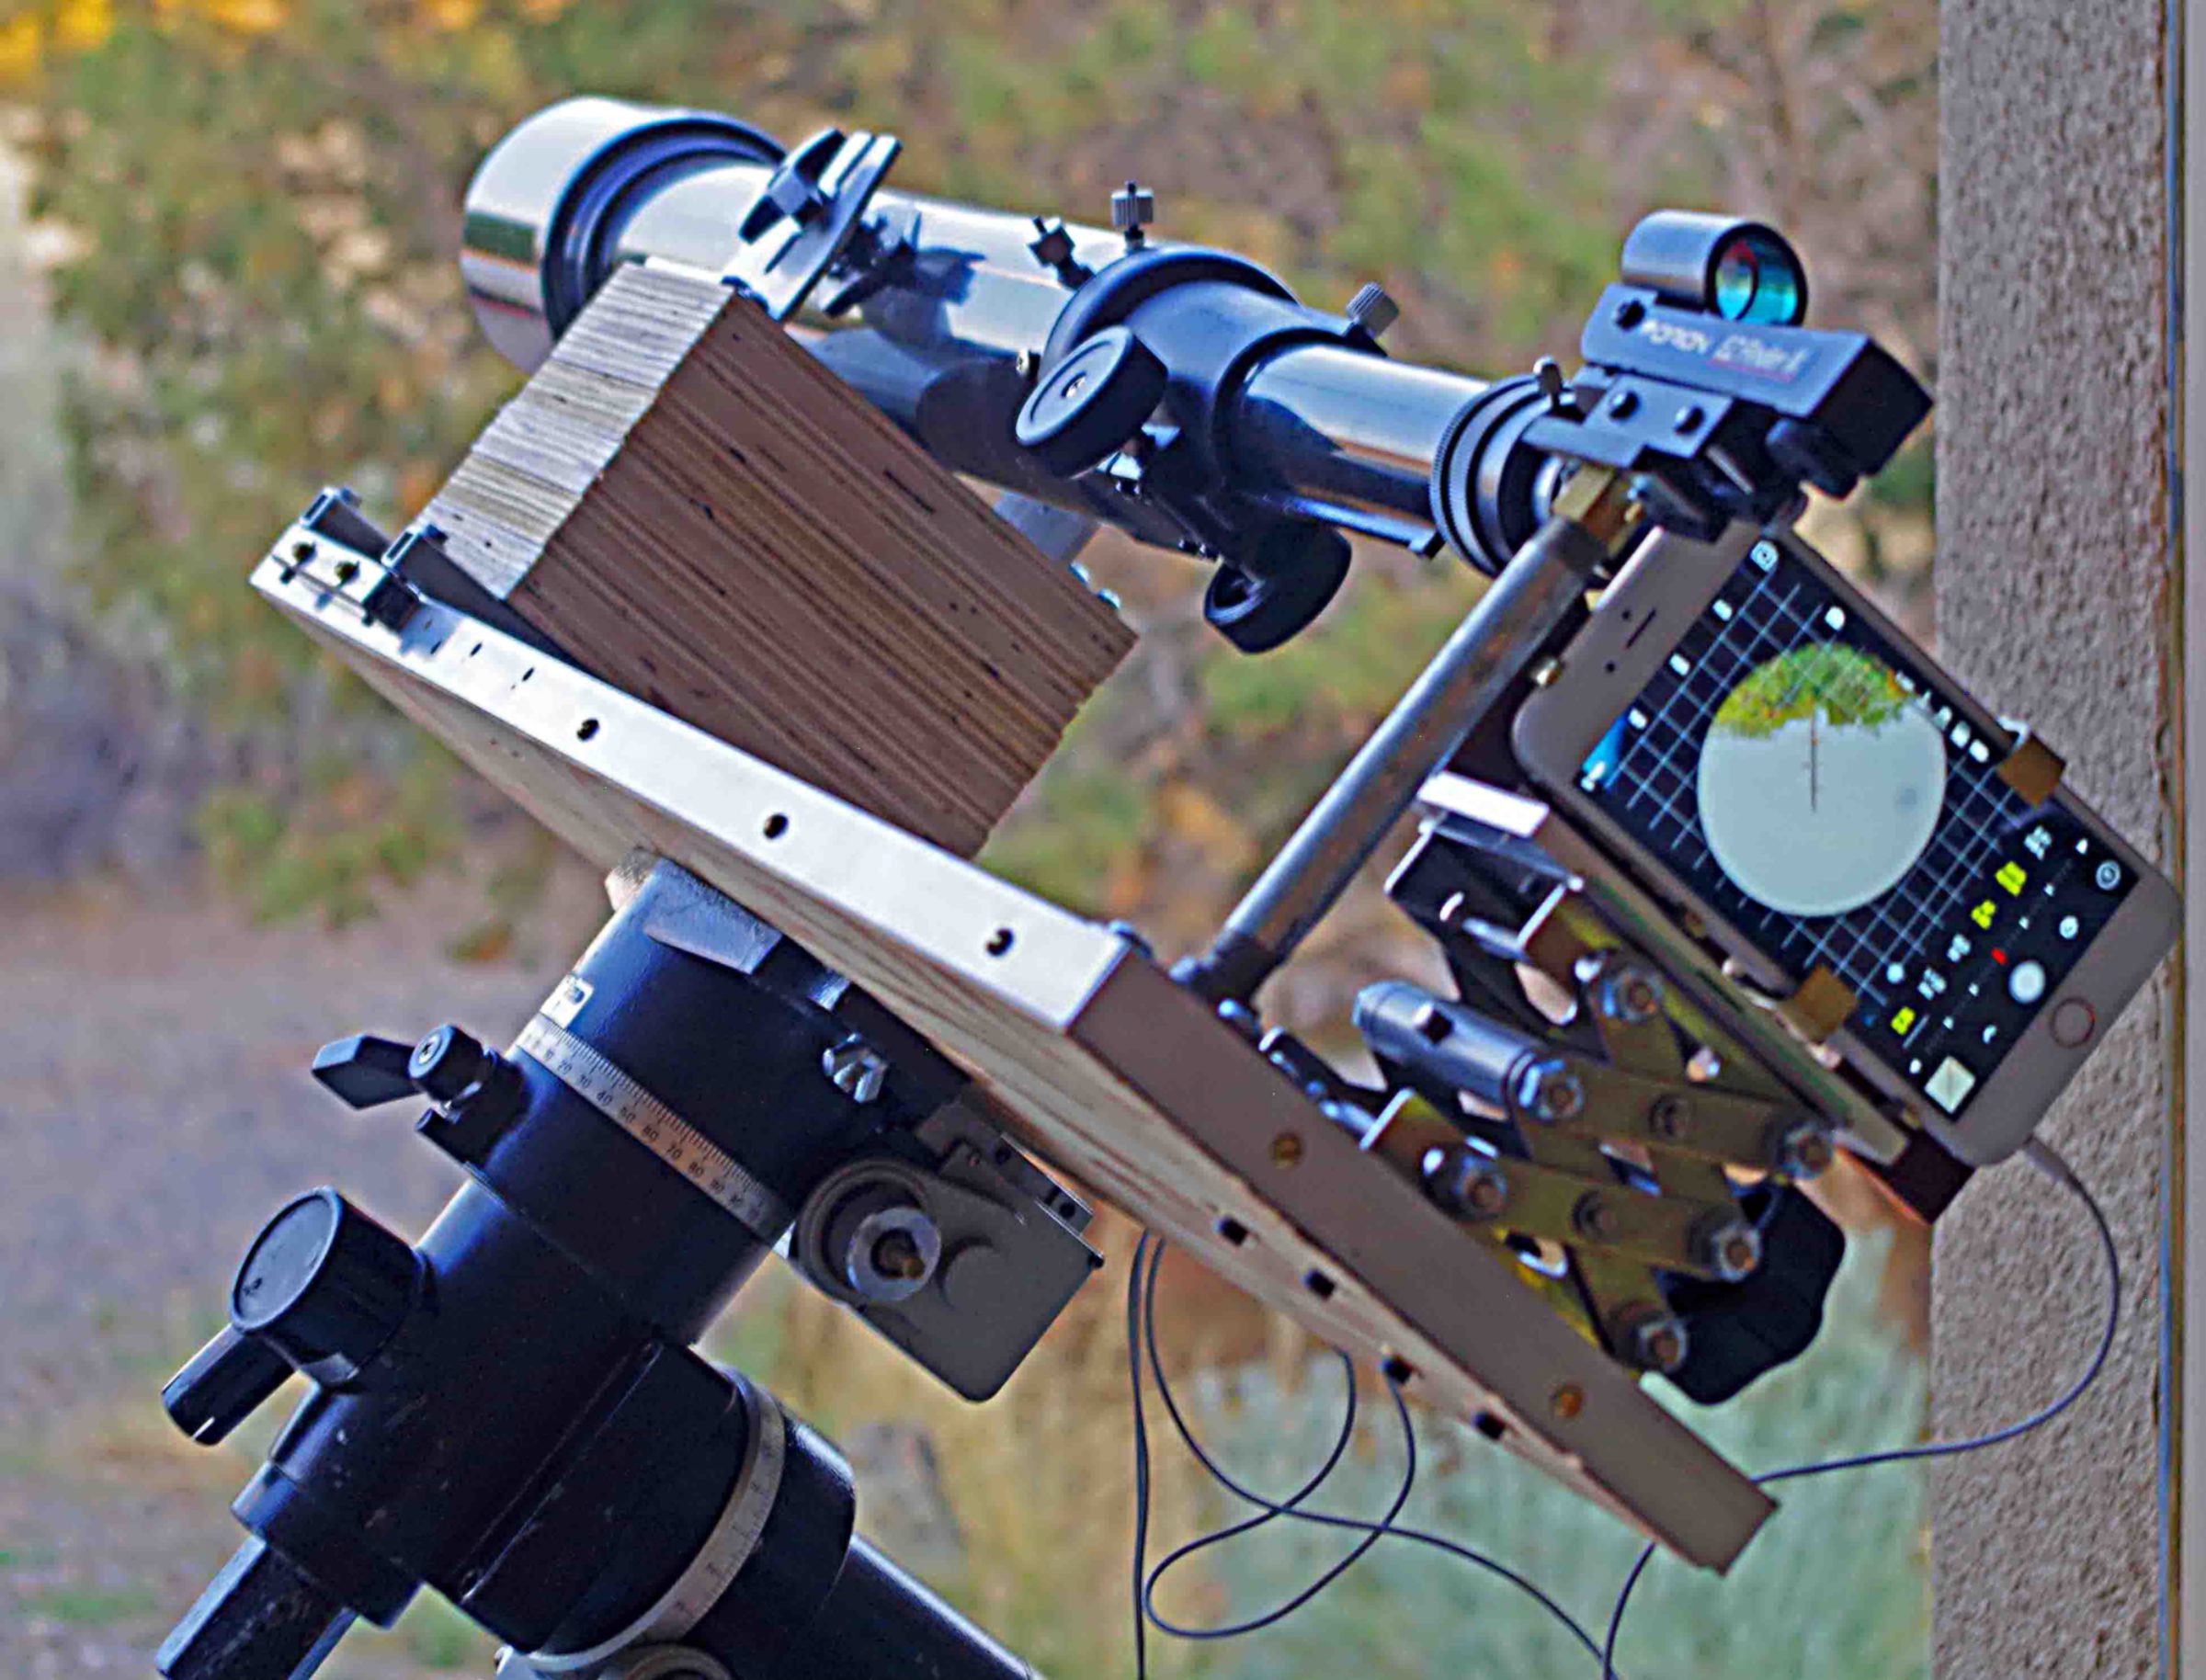
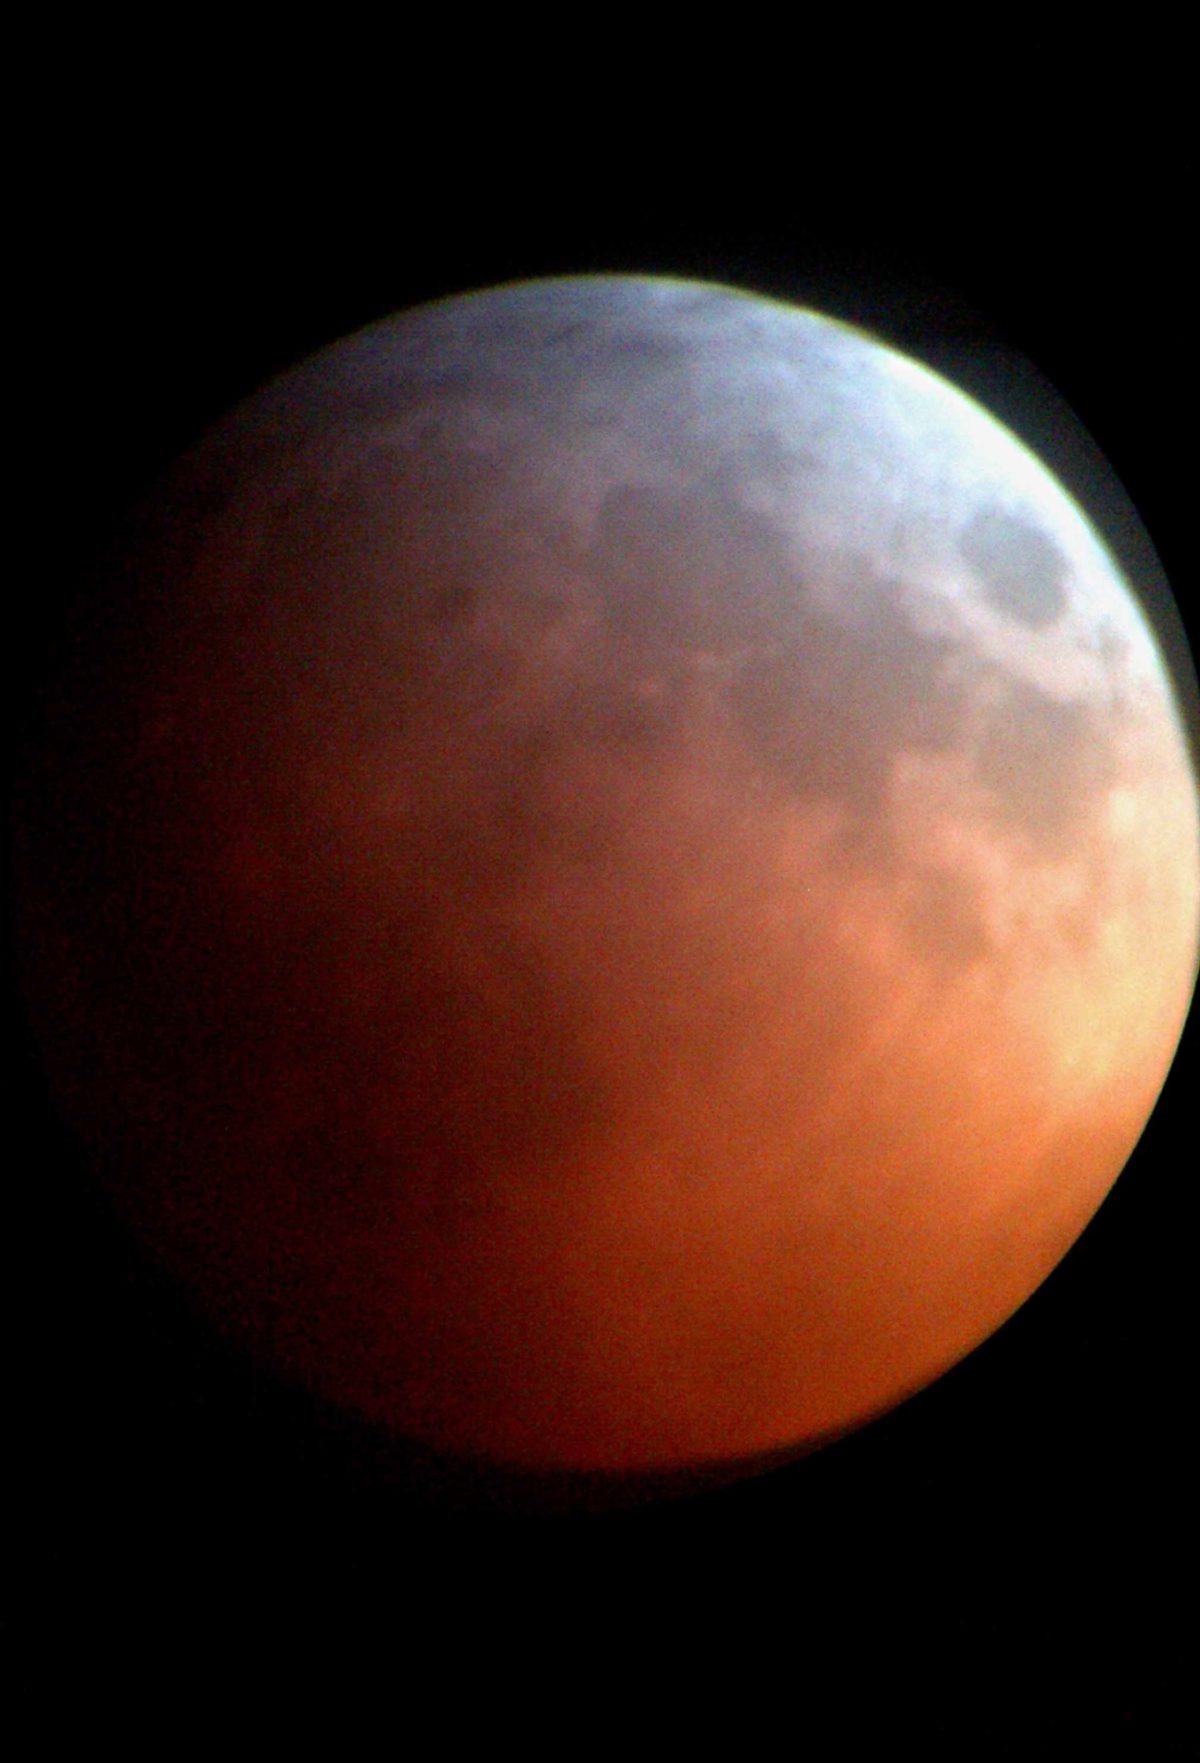
Technical Details: Camera control app ProCam, telescope optics 70mm f/10 refractor with 10.5 mm orthoscopic eyepiece and no filter. Location: Santa FE, NMImage: Barney Magrath
Support our core enterprises
Your support powers our mission to explore worlds, find life, and defend Earth. You make all the difference when you make a gift. Give today!
Donate

 Explore Worlds
 Find Life
 Defend Earth