Jason Davis • Oct 27, 2017
Here's how engineers closed out LightSail 2 for flight
Last month, engineers reconfigured The Planetary Society's LightSail 2 spacecraft into its flight-ready state for what is likely to be the last time. It's a big milestone for the program; after years of effort dating back to 2009, work on the CubeSat is finally finished.
The procedure to button up LightSail is called closeout. The team sets the spacecraft's software to start the mission on the next boot, and physically secures all deployable structures including the antenna and solar panels.
LightSail 2 spent 2017 in a hurry-up-and-wait mode while launch dates remained fuzzy for SpaceX's Falcon Heavy rocket. The uncertainty provided an opportunity to perform more tests and tweaks, with the knowledge that the order to ship the spacecraft could come at any time.
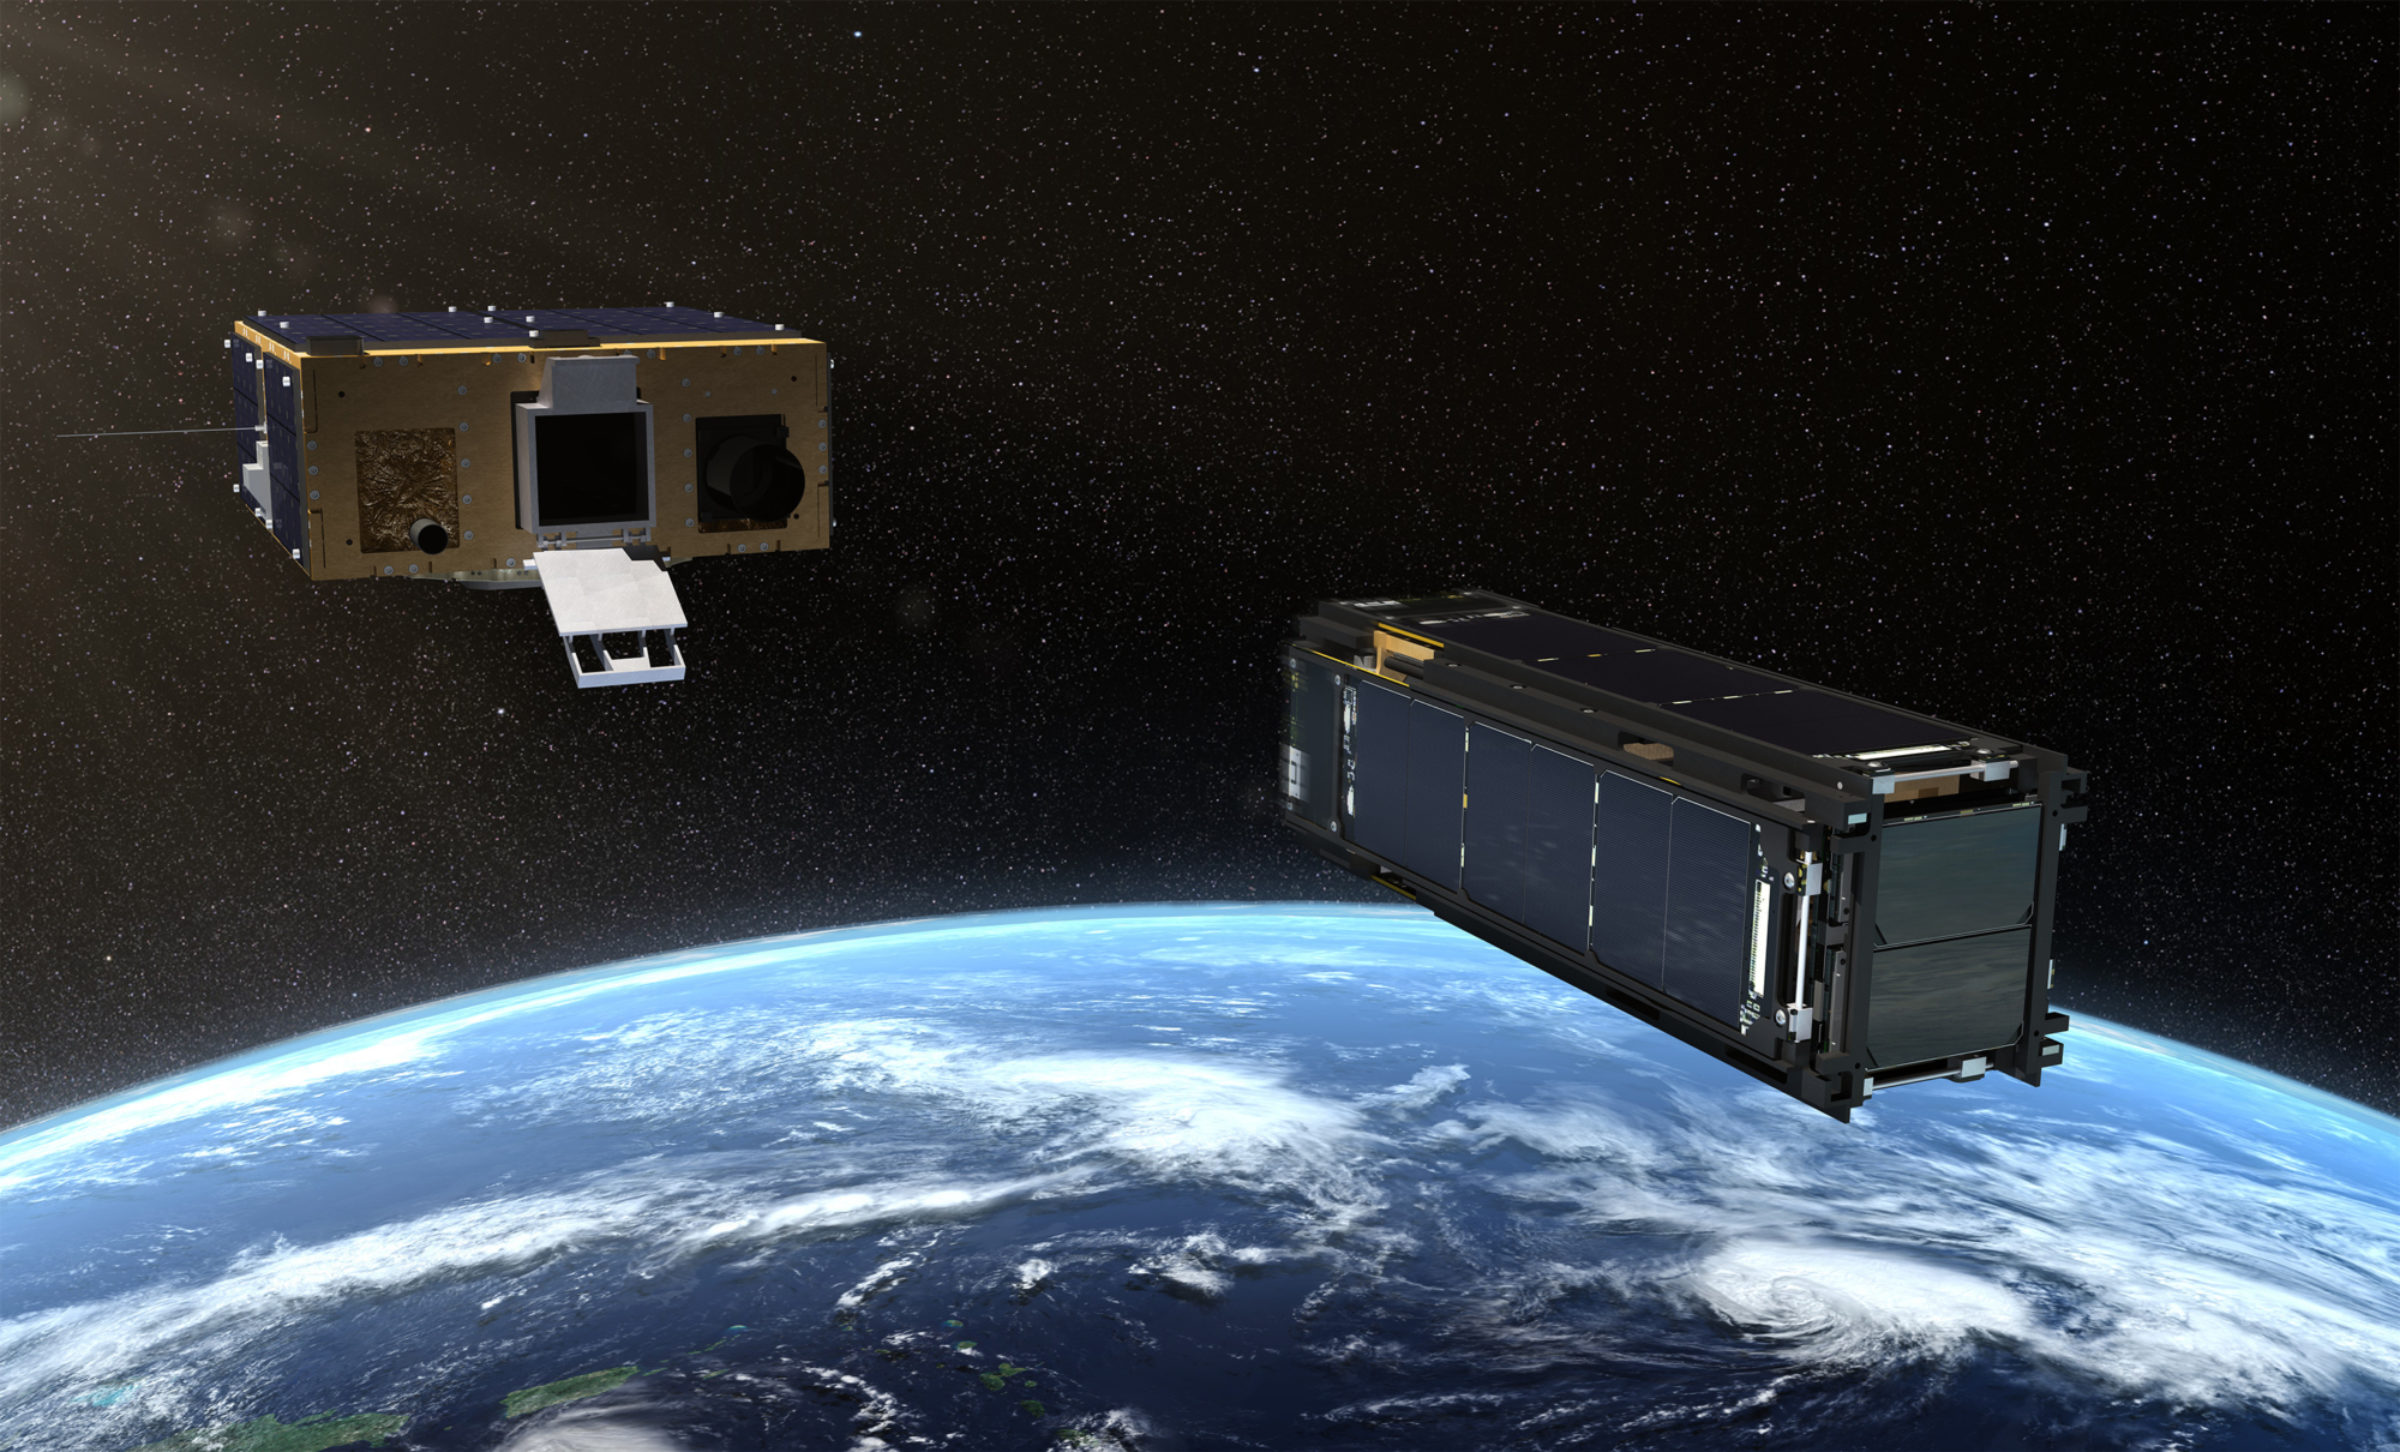
Launch is currently scheduled for no earlier than April 30, 2018. But that could always change, based on the timing of one or possibly two Falcon Heavy flights ahead of the STP-2 mission for the U.S. Air Force, which will carry LightSail 2 and its partner spacecraft, Prox-1, as secondary payloads.

LightSail's final path to launch starts at Cal Poly San Luis Obispo, with integration into a spring-loaded deployer called a P-POD. Once LightSail 2 is inside the P-POD, its battery can't be charged, so the team is currently storing the spacecraft at Ecliptic Enterprises Corporation in Pasadena, where its power levels can be monitored and occasionally topped off. After P-POD integration, LightSail 2 ships to the Air Force Research Laboratory in Albuquerque, New Mexico, for installation aboard Prox-1.
In the meantime, engineers formally closed out the spacecraft. Roughly speaking, closeout is the last time you fiddle with a spacecraft before launch. It's sort of like walking through your house one last time before vacation; you might set the thermostat for your absence, turn on the alarm and lock the doors. At that point, you aren't expecting to go back inside.
Closeouts must be done carefully, and not just because they determine whether things will go well on launch day. Case in point: NASA's TDRS-M satellite recently had a nasty run-in with a crane during closeout, delaying the mission.
At just 33 steps long, the LightSail 2 closeout was far from dramatic, but each procedure was carefully documented by Ecliptic engineer Stephanie Wong. Here's a condensed version of the closeout procedure, with explanations and photos showing how LightSail 2 was buttoned up for flight.
Verify LS2 has been flashed before antenna is stowed.
"Flashing" the software clears all files on the flight computer, such as old telemetry logs and pictures taken during testing. It's like reinstalling the operating system on your computer, giving it a clean, out-of-the-box appearance. There's even a screenshot taken to verify the correct software version was installed.
Rotate LS2 with the -Y panel facing up. Remove all internal blue film. Inspect external -Y panel. Inspect internal -Y panel. Restrain panel.
These steps are repeated for all four deployable solar panels, which comprise the X and Y axes of the spacecraft. The blue film protects the solar panels from damage the way new smartphones come wrapped in clear stickers and plastic. At this point, everything on LightSail 2 has been tested as working, so the closeout's main purpose is physically documenting how the spacecraft looked before flight, while making sure nothing is obviously awry.
Rotate LS2 to view the +Z panel. Inspect external +Z panel.
The +Z panel is what we think of as the bottom of the spacecraft. It faces Earth before solar sail deployment and is equipped with laser ranging reflectors to allow ground observers to precisely measure the spacecraft's position. Notice the antenna is still deployed here; the +Z panel comes off in a future step to fix that.
Rotate LS2 to view the -Z panel. Inspect external -Z panel.
This end of the spacecraft faces the Sun when solar sailing thrust is active.
Rotate LS2 so the antenna is facing upwards. Unscrew the four main board screws and two antenna housing screws. Tie new spectraline, check the NiCr wire and re-assemble the antenna housing.
This a crucial step. Spectraline is the fishing line-like wire that holds the solar panels shut. They loop through a nickel-chromium coil that heats up and burns through the spectraline, allowing the solar panels to hinge open. There are two NiCr circuits for redundancy, because if the solar panels don't open, the solar sail can't deploy, and the mission will fail.
The antenna is coiled into a loop, and its hinged door is pulled shut by another piece of spectraline, which runs through a second NiCr heating loop.
Spot bond NiCr wire and any necessary areas. Let cure.
Delicate pieces of LightSail 2 that could vibrate and break during launch are covered with a grey, epoxy-like substance known as staking compound. This includes screws and exposed wire connections.
Screw the antenna assembly back onto the main panel. Then screw the main panel back to the spacecraft. Ensure the ground wire is under one of the screws. Tighten and stake. Let cure at room temperature. After 24 hours, inspect spacecraft.
After putting the antenna and +Z panel back on LightSail 2, its remaining screws are staked and given 24 hours to cure.
Store appropriately for transport.
That's pretty much it! The next stop for LightSail 2 is Cal Poly.
The spacecraft is now closed out and in storage at Ecliptic. The battery will be topped off again before transport, the blue film on the exterior solar panels will be removed, and LightSail 2 will be ready for P-POD integration.
Support our core enterprises
Your support powers our mission to explore worlds, find life, and defend Earth. You make all the difference when you make a gift. Give today!
Donate

 Explore Worlds
 Find Life
 Defend Earth


