Mattias Malmer • Sep 04, 2015
Aluminum Shapemodel of Comet 67P
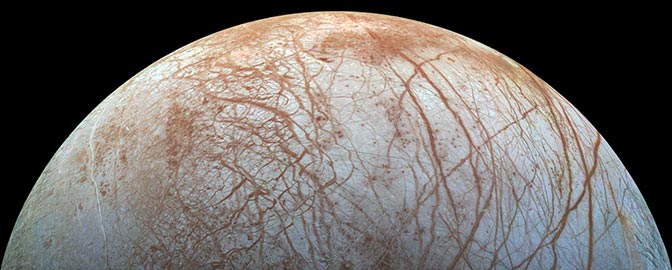
When the first pictures of Rosetta's comet were released (or rather, leaked) onto the internet, I was intrigued by the peculiar shape. As the comet grew bigger in the pictures it became clear that this was a very interesting little world. Its unusual shape was a little hard to grasp from the relatively sparse images released. I wanted to know more. So, I decided to build a 3D model—a "shapemodel" as it is called
by astronomers. (See my previous post on that here.)
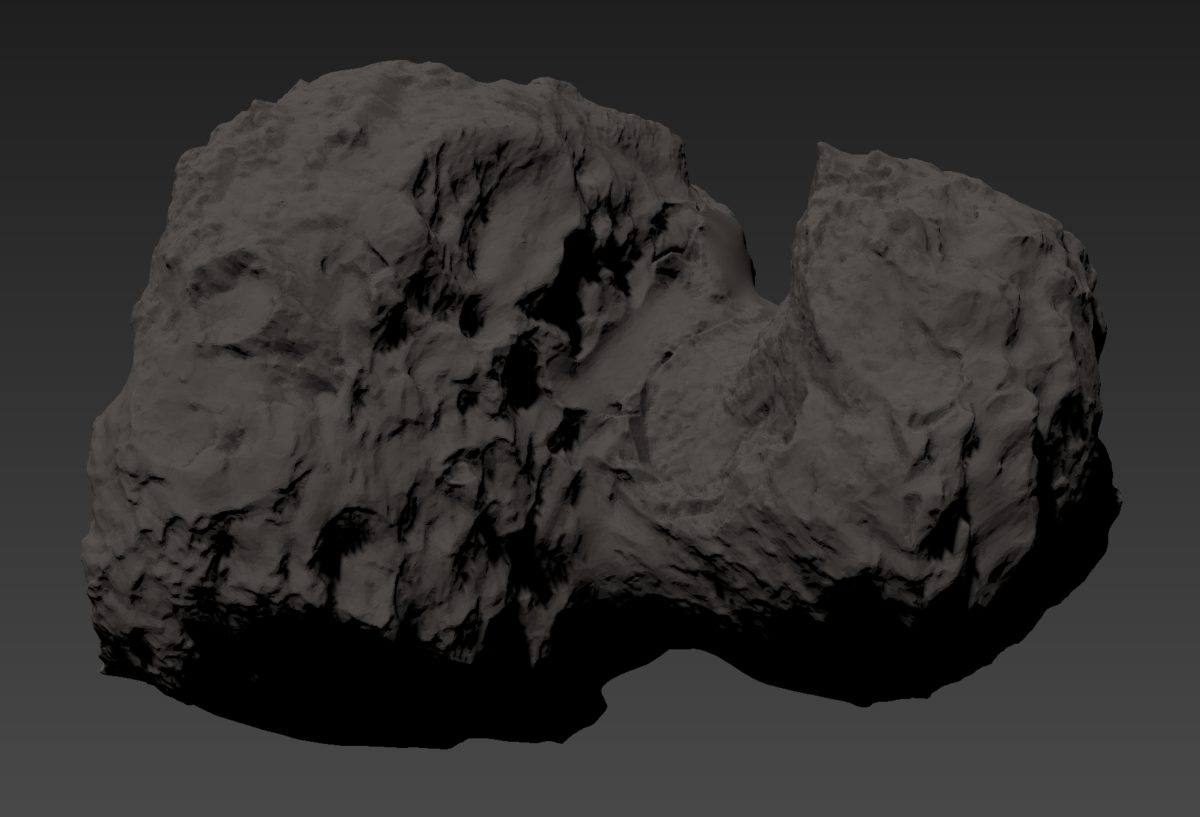
It was not easy, but it was possible to create a fairly good one from the released Rosetta images, and I have kept refining it over the past year. It really helped me get a grip on the scale and relationships of various surface features. But a model in a computer is not really the same as having one in your hand—so I decided that it would be fun to 3d print my model. I had a friend print me one, but a piece of plastic just feels a little toylike. I wanted something more.
I wanted it in metal.
I have made tin/pewter molds in the past for a lunar module model I'm building. The size of the comet model I had in mind however would make the tin raw material quite expensive. aluminum on the other hand is dirt cheap. The problem is that it's not nearly as easy to melt. Tin can be melted on your kitchen stove. aluminum needs something a bit more aggressive...so I had to build a furnace.
The internet told me that it was really easy, and to my surprise, it actually was. I just needed a steel bucket, some concrete, a steel pipe, and a hairdryer. Since I live in a house "with potential" there are always building materials lying about. I lined the inside of my steel bucket with the found concrete. On a whim I also added some perlite to the mix because perlite came up when people were talking about refractory mixes, and my wife had a bag that she uses for the garden somewhere.
I made a concrete lid and drilled a hole into the side of the bucket for airflow. Then I tossed in some charcoal briquettes and hooked up my wife's hairdryer to a pipe going into the hole in the bucket. (Better to ask for forgiveness than permission in these cases...)
To my surprise It got insanely hot in there. Nice!
Now I needed something to hold the metal while it melts. I tried some useless things first, but in the end I got a really good price at a charity shop on some cast iron fondue pots. Guess no one had thought about buying those since the 80s...
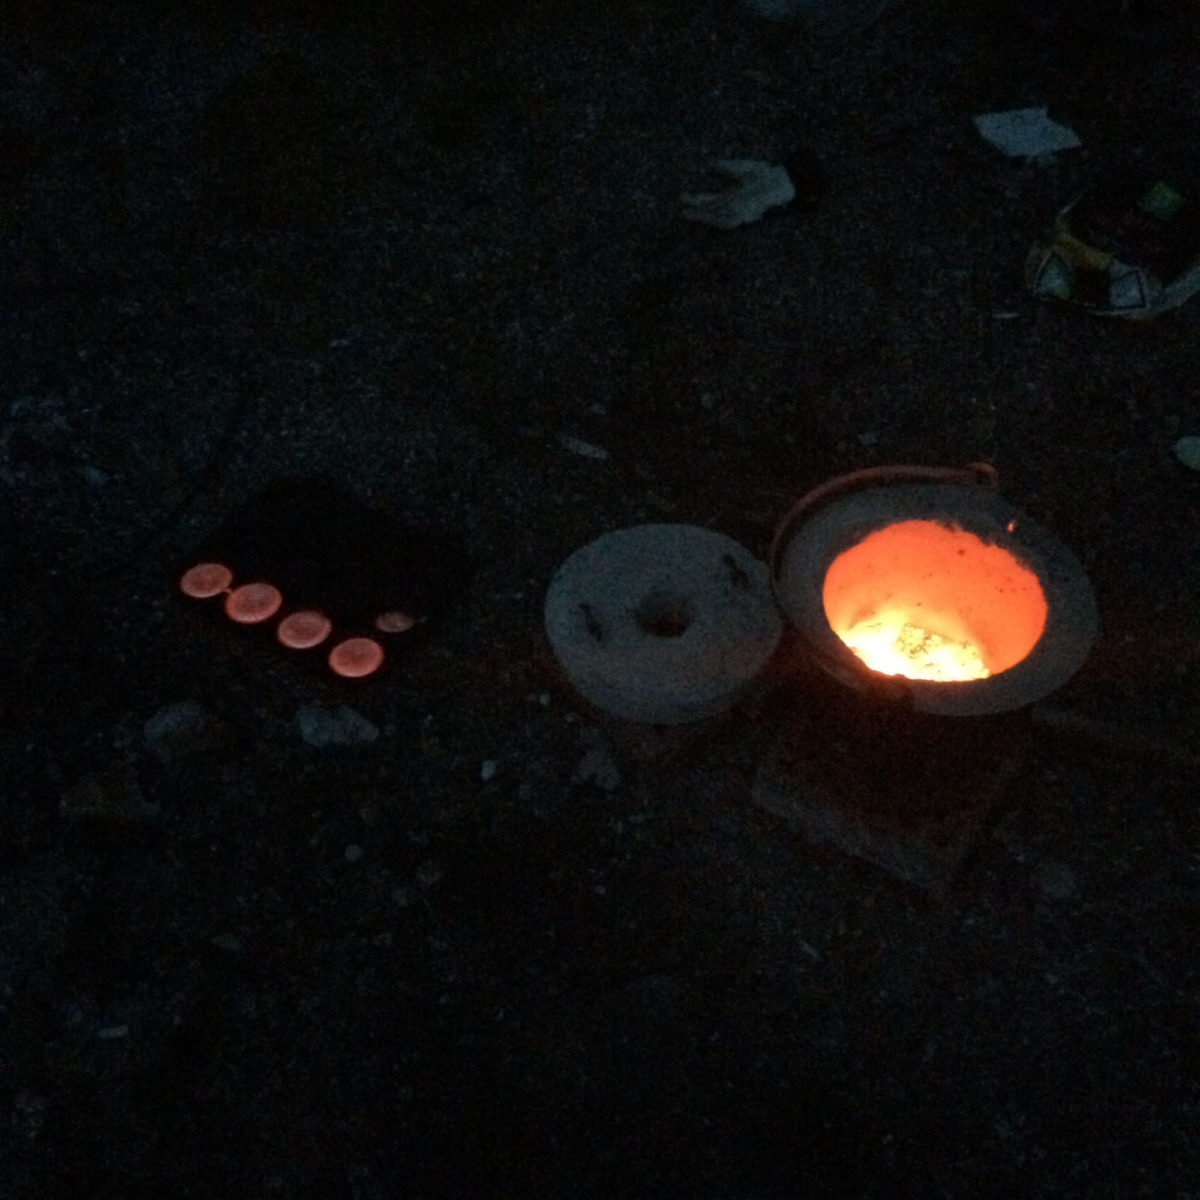
They found a new lease on life as crucibles. I tossed in some scrap aluminum I found when rummaging around in the old shed. And lo and behold, it started to melt! Awesome!
[And a little scary. It is hard to picture just how hot red hot metal really is and I did not want to empirically test it on myself. There are risks involved. So the usual "don't try this at home" disclaimer applies.]
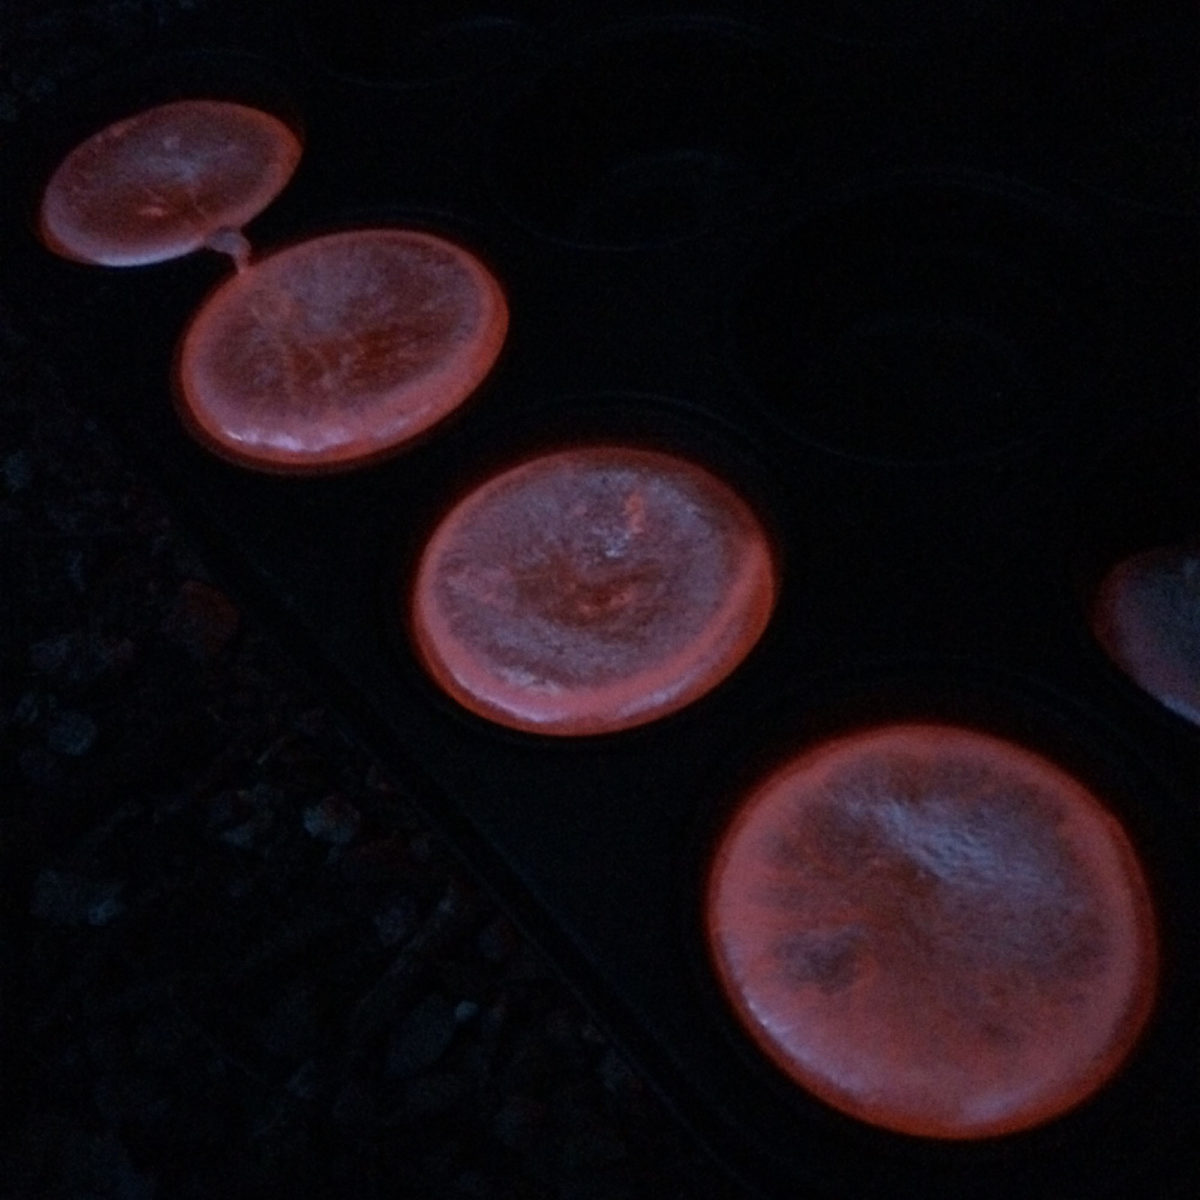
Soon I had melted down everything aluminum around the house and made a bunch of aluminum ingots.
But I wanted a comet, so I had to make a mold. The way to do that is through the lost wax process. If you coat a wax object in plaster and then melt out the wax you get a perfect mold.
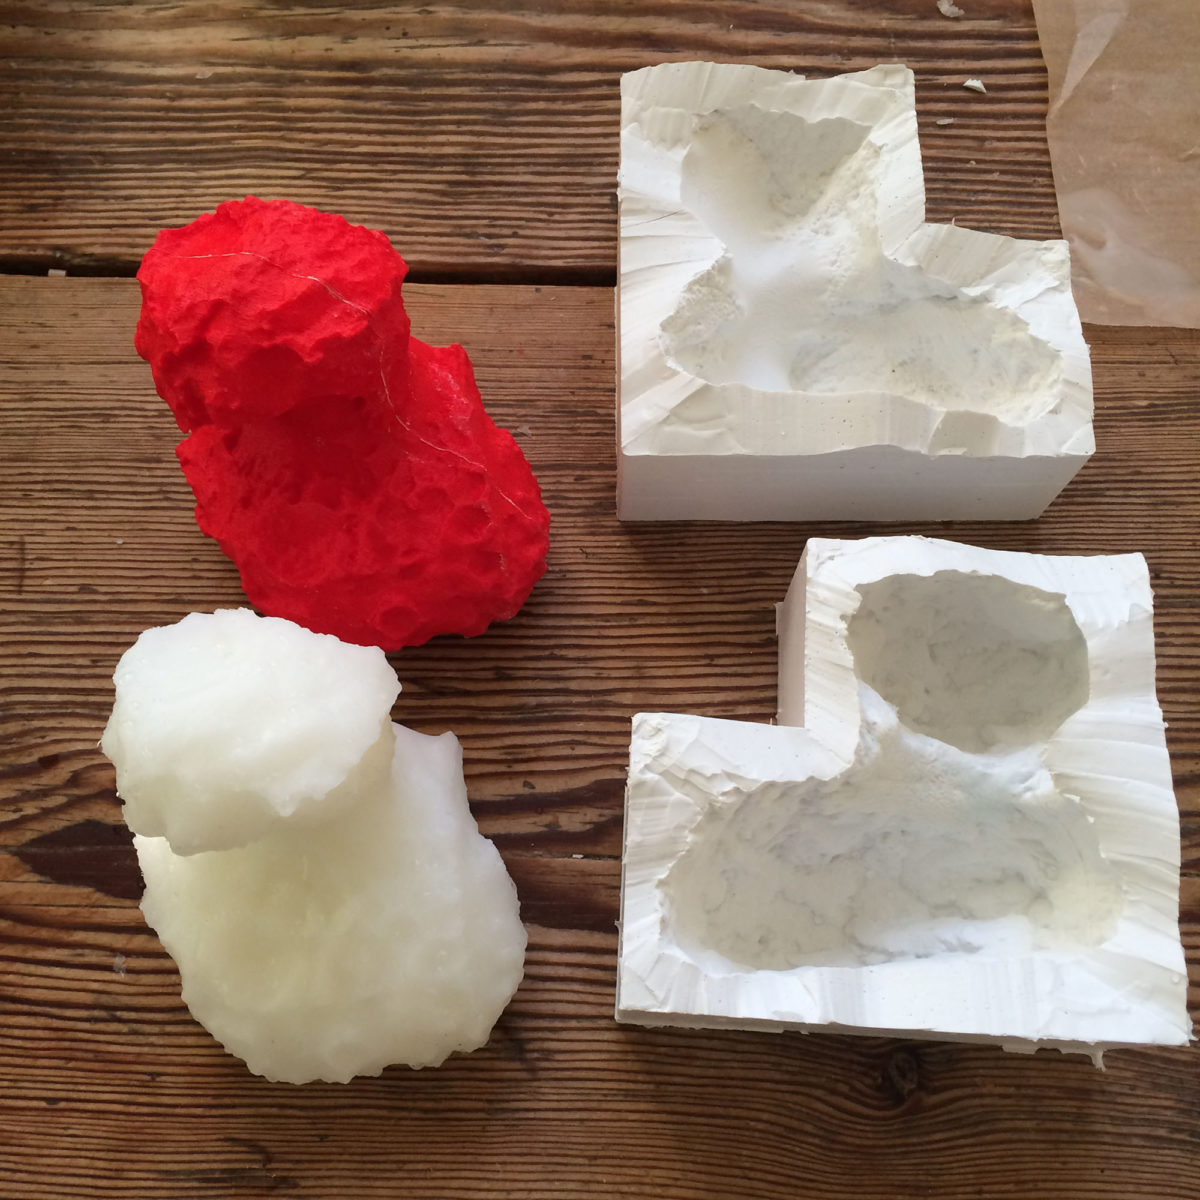
But I had no wax comets lying around. I only had one plastic 3d print. So I had to make a reusable mold for making wax copies.
I made a two part mold using silicone. I poured the silicone into a LEGO frame. LEGO is great for these things.
Wax goes into the mold and, voila, wax comets!
I added a wax inlet for metal and an outlet for air and then coated the whole assembly in plaster. I used some leftover fiberglass insulation to reinforce the plaster so that it didn't crack when burning out the wax.
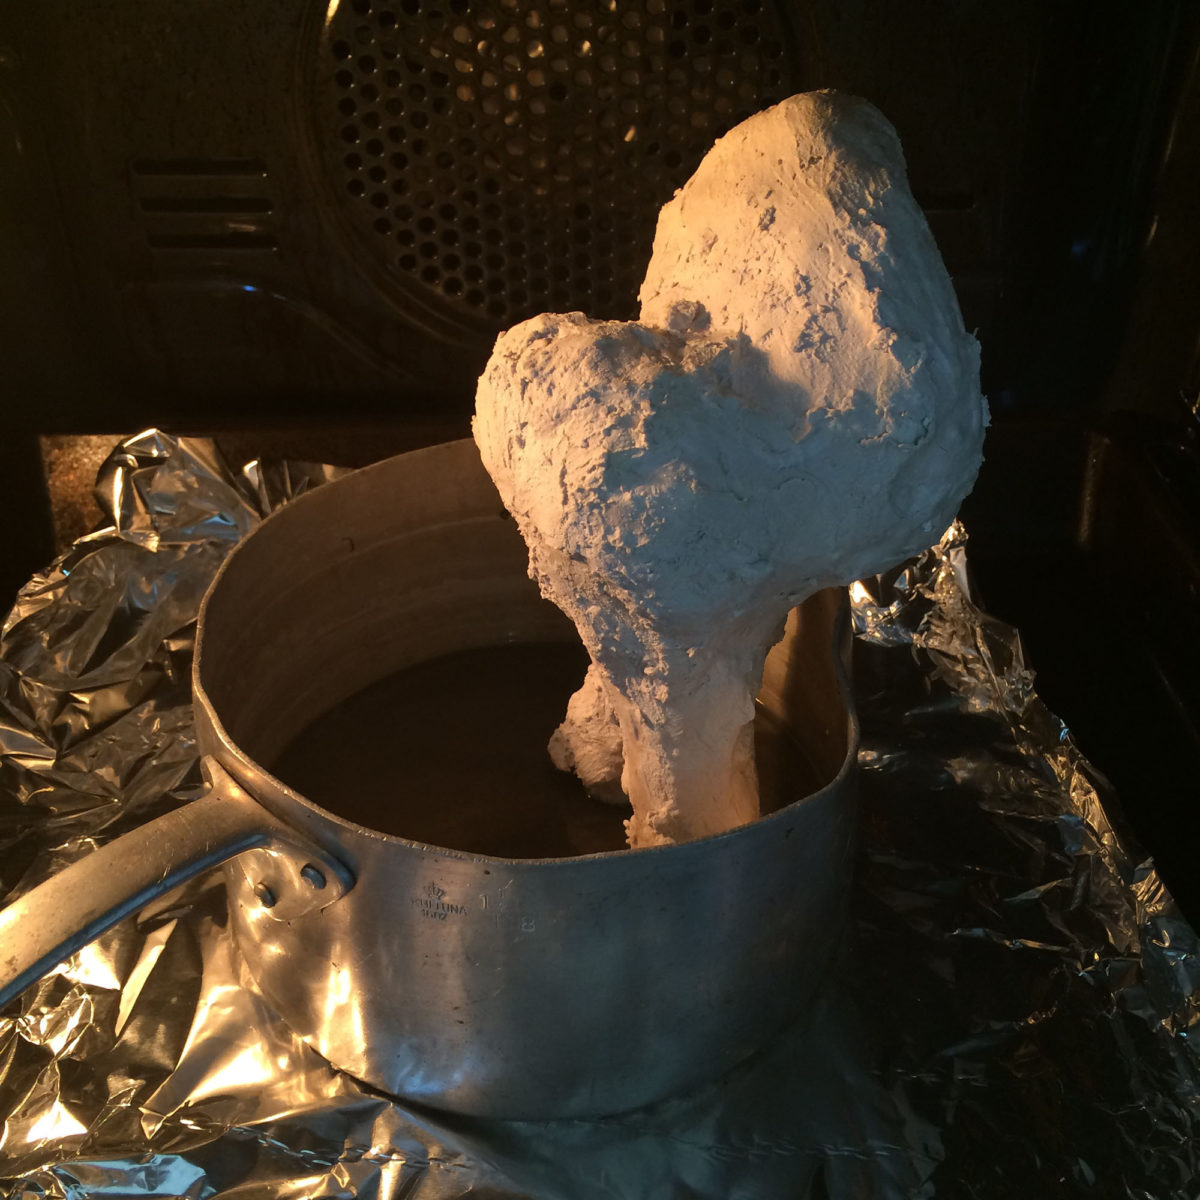
Everything goes in the oven at a moderate temperature until the wax has all melted out of there. Then I just put the plaster shell in the furnace and burn off as much of moisture as I can. You do NOT want a steam explosion when pouring molten metal.
Then I buried the still-hot mold in sand, melted some ingots, and when it is all looking like the T-1000 Terminator, I poured it into the mold and hoped for the best...at the time of writing this I have tried three times and the last one actually came out reasonably good. The first two were total failures. I'd rather not show you those...
The trick in casting is to delude yourself that the next one will be perfect.
Support our core enterprises
Your support powers our mission to explore worlds, find life, and defend Earth. You make all the difference when you make a gift. Give today!
Donate

 Explore Worlds
 Find Life
 Defend Earth
